
Like many herbs, sage plants can be propagated with water, soil, and some patience. In this post, we’ll take a look at how to grow a sage plant from cuttings.
Growing sage from cuttings is a great way to multiply your herb garden collection without needing to purchase more sage seeds or seedlings.
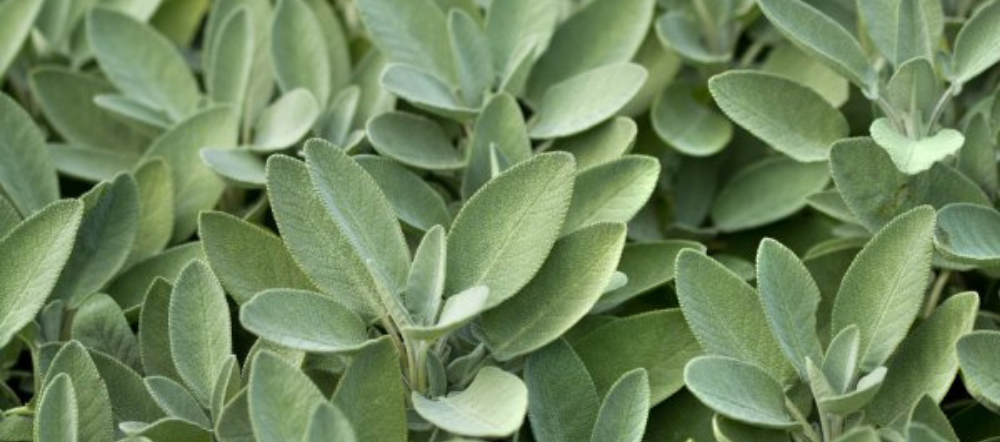
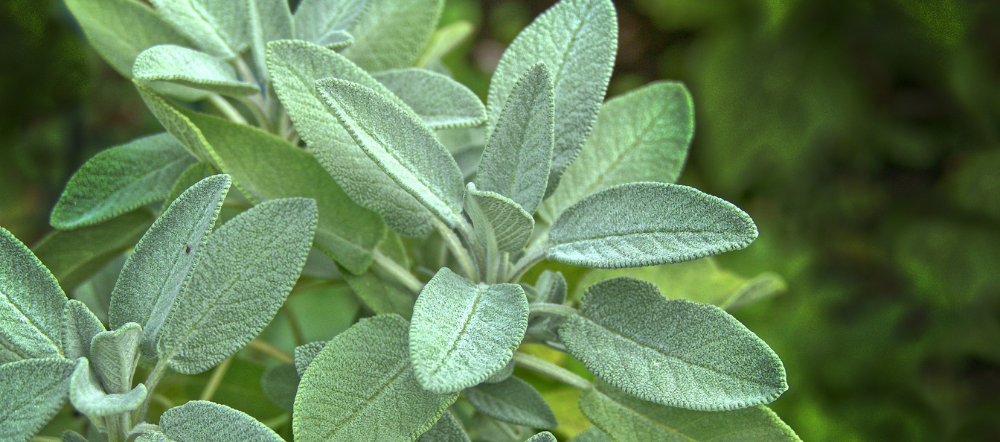
Sage plants are a common herb for growers to try their hand at. Whether being grown for food preparation, health benefits or even just to enjoy their green foliage and light lavender blooms, sage plants are popular for a reason.
To jump to a specific step in this process, click a link below:
- Get a hold of some sage
- Strip the leaves off the bottom of the stems
- [Optional] Apply growth hormone
- Start the root structure
- Wait 6-8 weeks for maturing plant
- Care for your new sage plant
What is sage?
Let’s start with what sage is.
The sage plant is a perennial with stocky, woody stems that produce robust and flavorful sprigs of sage. You’ve likely used this herb while cooking before, or at least enjoyed a dish that included the sage herb.
Sage can easily be grown in many growing zones in the United States and throughout the world. In PA’s growing zone, it grows great. Sage is a great addition to any herb garden, with a beautiful green (sage green!) color and the reward of fresh sage for your kitchen.
There are a few varieties of sage, including tri-color sage, purple sage, etc., but I mostly have experience with just the common garden sage variety. The propagation technique should be similar for all types of sage varieties.
Can sage be grown from cuttings?
Yes, sage can be grown cuttings, also known as propagating sage. Propagating simply means producing a plant that is identical (genetically speaking) to its parent by means of dividing, taking cuttings, etc.
Some plants are more difficult to propagate than others, but propagating sage isn’t too difficult if you know what you are doing.
But how do you start?
While growing sage from seed is certainly an option, growing sage from cuttings can be an interesting experience and doesn’t even require you to own a stage plant.
Whether you’re looking to grow more sage plants, or start your very first sage, read on to learn how to propagate sage.
How to grow sage from cuttings
To grow sage from cuttings, you’ll need:
- Water
- A small pot (around 3″ in diameter is a good size) or growing area with some potting soil. Whatever it is you’re planting the cutting in, make sure it has good drainage.
- Rooting hormone (optional)
Before we get into the specific steps, it should be noted that growing sage from cuttings is a lengthy process — especially if you’re using a growth hormone.
Personally, I don’t see the need for a growth hormone, but it can be used to improve your success rate with propagating sage.

Step-by-step on how to propagate sage
Here’s a rundown of everything involved with growing sage from cuttings.
1. Get hold of some sage
To start, you’ll need some sage cuttings of course.
If you are growing your own sage, simply cutting off some healthy, non-flowering sprigs of sage will do. No need to cut off full branches — sprigs that are 4″-6″ long will be great.
You can take cuttings any time throughout the growing season, but the best time is typically in the spring so the plant has time to establish itself over the summer.
If you aren’t currently growing sage and don’t know of anyone who is willing to share theirs, most grocery stores or farmers’ markets sell packs or bunches of fresh sage. While it’s certainly preferable to cut sprigs straight from a plant, sprigs that are purchased can be used as long as they are very fresh.
While annuals should be planted in the spring, perennials like sage can be planted in the spring or the fall. If planting in the fall, you’ll just want to make sure you have a warm spot for the propagated sage stem to grow.
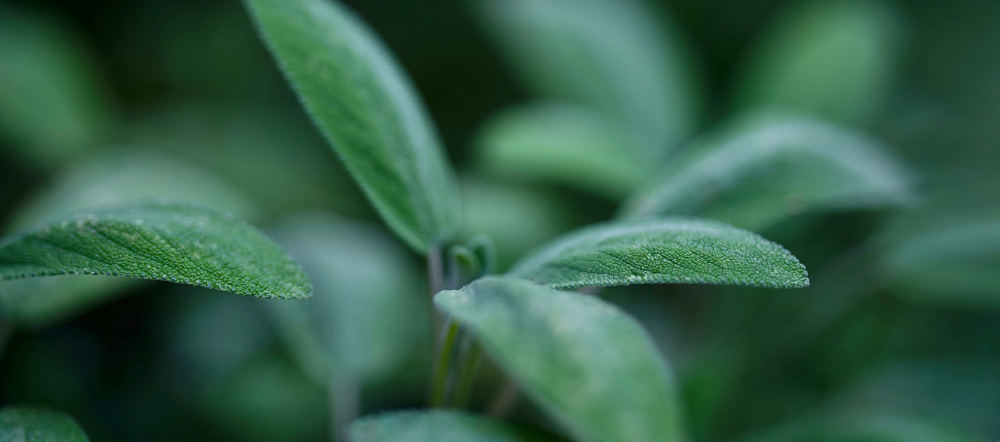
2. Strip leaves off the bottom 2″ of the sage sprig
Once you have a sage sprig, strip off the leaves on the lower end of the stem — you’ll want about 2″ of bare stem on the sprig, which will serve as the base for future roots!
If you are ready to propagate the sprig right away, cut the tip of the sage sprig at a 45-degree angle. This will ensure some fresh exposure to the center of the sage sprig.
Some gardeners will also strip or scrape/shred the outer skin of the lower stem off as well. This exposes the sage sprig’s stem to more dirt.
If the stem has large leaves, you can remove those as well. They’ll eventually turn yellow if you don’t.
3. [Optional] Dip the stem into a growth hormone
At this point, you have the option of dipping the sprig’s bare stem into a rooting hormone.
Using a growth hormone is completely optional, especially when it comes to a consumable plant like sage. It will definitely increase the survival rate of your sage cuttings, but it’s not absolutely necessary.
If you do want to use a growth hormone for a faster and healthier root system, you can purchase either the powder or gel form at your local garden center. Then, simply dip your stem into some water and then into the growth hormone.
Please note: When propagating sage with a rooting hormone, keep in mind that most hormones (whether in powder or gel form) will require you to wait until a full year before consuming any part of the plant. Be sure to read the label on the growth hormone you purchase for more detailed use.
4. Start the root structure
If you chose to start the plant with a growth hormone, you can plant the stem in a potting soil mix to ensure that it has good drainage.
Since your cuttings are just little sprigs at this point, planting them in a small pack or pot is preferable. This will allow you to move the plant around if needed.
If you aren’t using a growth hormone, you have the option of starting the cutting in water or sticking it directly into the soil. I’ve also heard of other methods for spurring root generation, such as sticking the sage stem into aloe, but I don’t have experience with doing that. Sounds interesting, though.
I prefer to start the cuttings in water so I can see the progress of the tiny roots growing. You can place your sage plant in a glass of water, with the 2″ of bare stem fully submerged.
After 3-4 weeks you should start seeing roots sprouting out of the sage stem.
Once you have some mature roots (roots should be a few inches long), the cutting is ready to plant in potting soil. Make sure the sprig’s stem has good contact with the soil so that the root system can grow immediately into the soil. If you are planting them inside, soil temperature shouldn’t be an issue, but it’s recommended that the soil temperature is somewhere between 60 and 70 degrees Fahrenheit.
Bear in mind that your cutting is going to be very sensitive at this stage. Soil that is too wet, too dry, too cold, too hot, etc. will have a stronger impact on the cutting than it would on an established plant.
It’s not uncommon for your sage plant to go through some “shock” at this point. You may notice the sage leaves turning yellow. This is just a sign that the roots are learning to adapt and pull nutrients from the soil. In some cases, gardeners will use a fungus such as Mycorrhizae to reduce this shock, but I’ve never needed that when propagating.
5. Wait 6-8 weeks for maturing plant
Depending on what season you are propagating in, the time it will take to root up and grow will vary. Typically, after 6-8 weeks you’ll start seeing some indications of growth.
It’s best to store your sage plant in a warm, humid area. If you have a greenhouse, this climate is perfect.
If not, you can achieve the same effect by putting a plastic bag over the plant and container.
Depending on the outside climate that you are growing in, keeping the plant outside may be good enough.
6. Care for your new sage plant!
Now that you have your plant started, it’s time to start treating it like any young plant you would purchase at a greenhouse or growing center.
Ensure the sage plant gets plenty of sunlight. Typically, sage plants need at least a half a day of full sunlight exposure.
Be sure to keep it after watering your new sage plant. Like most other herbs, sage plants need a moderate amount of water to really thrive. You can tell if your sage plant needs to be watered by checking the top 1/2″ of soil for dampness — if it’s dry, it should be watered.
Eventually, the sage plant will outgrow its original pot. When this happens, the plant can be transplanted into the ground or a larger pot.
Summary: Growing sage from cuttings
To summarize, sage is a great herb to try growing from cuttings! To propagate your sage, you can follow these steps:
- Get a hold of some sage
- Strip the leaves off the bottom of the stems
- [Optional] Apply growth hormone
- Start the root structure
- Wait 6-8 weeks for maturing plant
- Care for your new sage plant